How to Use Lip Primer for a Long-Lasting Lipstick Look
Sample meta description.

Why Lip Primer is Your Lipstick's BFF: Benefits and Advantages
Okay, let's talk lip primer. You might be thinking, "Another makeup step? Really?" But trust me, lip primer is a game-changer, especially if you're after that perfect, long-lasting lipstick look. Think of it as the foundation for your lips, creating a smooth canvas and helping your lipstick stay put for hours. No more feathering, bleeding, or fading – just vibrant, kissable color all day long.
So, what exactly does lip primer do? Well, a good lip primer offers a multitude of benefits:
- Smooths Lip Texture: It fills in fine lines and wrinkles, creating a smooth surface for lipstick application. Think of it as a Photoshop filter for your lips!
- Extends Lipstick Wear: This is the big one! Lip primer acts as a barrier between your lips and your lipstick, preventing the lipstick from sinking into fine lines or being absorbed. This significantly extends the wear time of your lipstick.
- Prevents Feathering and Bleeding: No one wants lipstick migrating beyond their lip line. Lip primer creates a seal that keeps your lipstick in place, preventing feathering and bleeding, especially with darker or bolder shades.
- Enhances Lipstick Color: By creating a neutral base, lip primer allows your lipstick color to appear more vibrant and true to its shade.
- Hydrates and Protects Lips: Many lip primers contain moisturizing ingredients that hydrate and protect your lips, preventing them from drying out.
Basically, lip primer is the secret weapon for achieving a flawless and long-lasting lipstick look. It's a small investment that makes a huge difference in the overall appearance and longevity of your lip color.
Choosing the Right Lip Primer: Factors to Consider and Selecting the Best Lip Primer for Your Needs
Not all lip primers are created equal. When choosing a lip primer, there are several factors to consider to ensure you're getting the best product for your needs:
- Ingredients: Look for lip primers that contain moisturizing ingredients like hyaluronic acid, shea butter, or vitamin E to keep your lips hydrated and prevent dryness. Avoid primers that contain harsh chemicals or alcohol, which can dry out your lips.
- Texture: Lip primers come in various textures, from balmy to creamy to silicone-based. Choose a texture that you find comfortable and that works well with your lipstick formula. If you have dry lips, a balmy or creamy primer might be best. If you want a super-smooth finish, a silicone-based primer might be a good choice.
- Color: Some lip primers are clear, while others have a slight tint. A clear primer is generally the best choice for all lipstick shades. However, a tinted primer can help to even out your lip tone and enhance the color of your lipstick.
- Application: Consider the application method. Some lip primers come in a tube with a wand applicator, while others come in a stick form. Choose an application method that you find easy and convenient.
- Skin Type: Consider your skin type. If you have dry lips, look for a hydrating lip primer. If you have oily lips, look for a mattifying lip primer. If you have sensitive lips, look for a hypoallergenic lip primer.
By considering these factors, you can choose the right lip primer for your needs and achieve a flawless and long-lasting lipstick look.
Step-by-Step Guide: How to Apply Lip Primer Like a Pro for Optimal Results
Applying lip primer is easy, but there are a few tricks to ensure you're getting the most out of your product:
- Exfoliate Your Lips: Before applying lip primer, gently exfoliate your lips to remove any dead skin cells. This will create a smoother surface for the primer and lipstick. You can use a lip scrub or a soft toothbrush.
- Hydrate Your Lips: Apply a lip balm to hydrate your lips. Allow the balm to absorb for a few minutes before applying the primer.
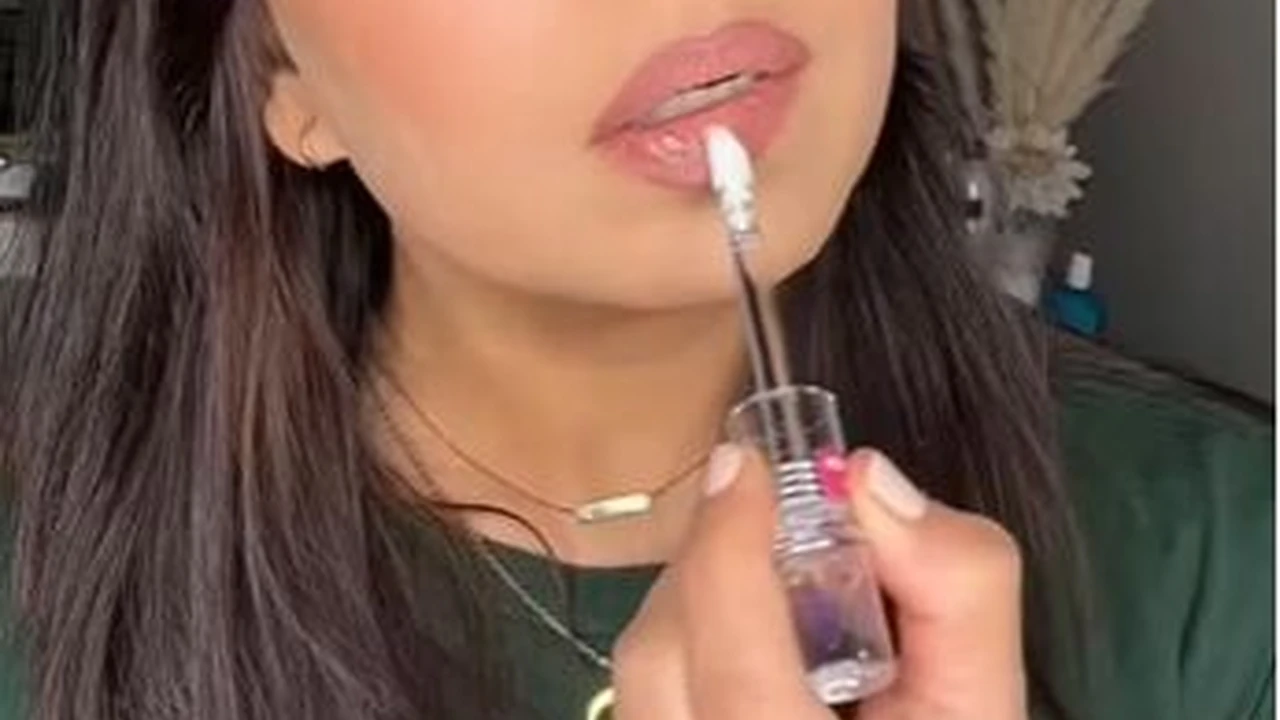
- Apply a Thin Layer of Lip Primer: Using your finger or a lip brush, apply a thin layer of lip primer to your lips. Start in the center of your lips and blend outwards, covering your entire lip area.
- Wait for the Primer to Set: Allow the primer to set for a minute or two before applying lipstick. This will give the primer time to create a smooth, even base.
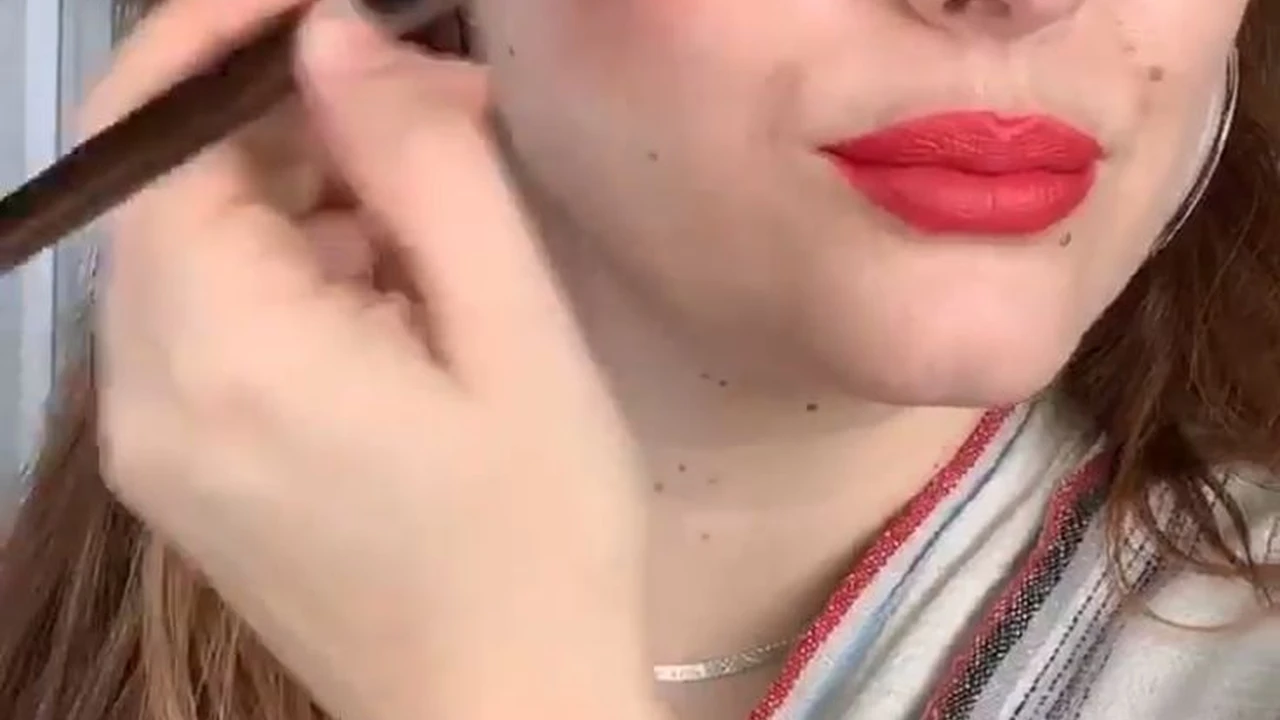
- Apply Lipstick as Usual: Apply your lipstick as usual. You may find that you need less lipstick than usual, as the primer helps to intensify the color.
That's it! With these simple steps, you can apply lip primer like a pro and achieve a flawless and long-lasting lipstick look.
Top Lip Primer Recommendations: Product Reviews, Comparisons, and Price Points
Alright, let's get to the good stuff – the products! Here are a few of my favorite lip primers, with a breakdown of their pros, cons, and price points:
Urban Decay Ozone Lip Primer Pencil: A Versatile Option
Pros: This is a cult-favorite for a reason. It's a clear, creamy pencil that glides on smoothly and creates a fantastic base for lipstick. It's incredibly versatile and works well with all lipstick formulas. It also helps to prevent feathering and bleeding. The pencil format makes it easy to apply precisely.
Cons: Some users find it a bit drying if used alone. It can also be a little pricey.
Price: Around $22.
Application Scenario: Perfect for everyday wear, special occasions, and photoshoots. It's a great all-around primer that works well with any lipstick.
MAC Prep + Prime Lip: A Hydrating and Smoothing Choice
Pros: This primer is known for its hydrating properties. It contains emollient ingredients that keep your lips moisturized and prevent them from drying out. It also smooths out fine lines and wrinkles, creating a flawless canvas for lipstick.
Cons: It can feel a bit slippery on the lips, which some users might not like. It also has a slight vanilla scent, which might not be for everyone.
Price: Around $23.
Application Scenario: Ideal for those with dry or chapped lips. It's also a good choice for those who wear matte lipsticks, as it helps to prevent them from drying out the lips.
NYX Professional Makeup Lip Primer: A Budget-Friendly Gem
Pros: This is a great option if you're on a budget. It's an affordable primer that delivers excellent results. It helps to prevent feathering and bleeding, and it extends the wear time of your lipstick. It comes in a clear formula that works well with all lipstick shades.
Cons: It's not as hydrating as some of the other primers on this list. It also doesn't smooth out fine lines and wrinkles as effectively.
Price: Around $7.
Application Scenario: Perfect for everyday wear and for those who are new to lip primer. It's a great way to try out lip primer without breaking the bank.
Anastasia Beverly Hills Lip Primer: A Long-Lasting Powerhouse
Pros: This primer is designed for serious staying power. It's known for its ability to keep lipstick in place for hours, even through eating and drinking. It also helps to prevent feathering and bleeding, and it intensifies the color of your lipstick.
Cons: It can be a bit drying on the lips, so it's important to use a hydrating lip balm beforehand. It's also one of the more expensive primers on the list.
Price: Around $16.
Application Scenario: Ideal for special occasions, weddings, and events where you need your lipstick to last all day or night.
Lip Primer Product Comparison: Choosing the Best Option for You
Here's a quick comparison table to help you decide which lip primer is right for you:
| Primer | Price | Hydration | Staying Power | Smoothing | Best For |
|---|---|---|---|---|---|
| Urban Decay Ozone | $$ | Medium | High | High | All Lipstick Types |
| MAC Prep + Prime Lip | $$ | High | Medium | High | Dry Lips, Matte Lipsticks |
| NYX Lip Primer | $ | Low | Medium | Low | Budget-Friendly, Beginners |
| ABH Lip Primer | $$$ | Low | Very High | Medium | Long-Lasting Wear |
Price Key:
- $: Under $10
- $$: $10-$25
- $$$: Over $25
Lip Primer Application Tips and Tricks: Achieving a Professional Finish
Want to take your lip primer game to the next level? Here are a few extra tips and tricks:
- Use a Lip Brush: While you can apply lip primer with your finger, a lip brush can help you achieve a more precise and even application.
- Don't Overapply: A little lip primer goes a long way. Applying too much can make your lipstick feel slippery and cause it to bleed.
- Let it Set: Always allow the lip primer to set for a minute or two before applying lipstick. This will give it time to create a smooth, even base.
- Reapply if Needed: If you're wearing a long-wearing lipstick, you may need to reapply lip primer throughout the day to maintain its effectiveness.
- Consider Your Lipstick Formula: Some lip primer formulas work better with certain lipstick formulas. Experiment to find the best combination for your needs.
Troubleshooting Common Lip Primer Problems: Addressing Issues and Finding Solutions
Sometimes, things don't go as planned. Here's how to troubleshoot common lip primer problems:
- Lip Primer is Drying Out My Lips: Use a more hydrating lip balm before applying the primer. Also, consider switching to a more hydrating lip primer formula.
- Lipstick is Still Feathering: Make sure you're applying the lip primer evenly and that you're allowing it to set before applying lipstick. You may also need to use a lip liner to further prevent feathering.
- Lipstick is Slipping and Sliding: You may be applying too much lip primer. Try using a thinner layer. Also, make sure your lips are properly exfoliated and hydrated.
- Lip Primer is Making My Lipstick Look Cakey: You may be using a lip primer that is too thick or that doesn't blend well with your lipstick formula. Try switching to a lighter primer or blending it more thoroughly.
Lip Primer vs. Lip Liner: Understanding the Differences and When to Use Both
Lip primer and lip liner are both essential tools for achieving a flawless lipstick look, but they serve different purposes.
Lip Primer: Creates a smooth base for lipstick, extends wear time, prevents feathering and bleeding, and enhances color.
Lip Liner: Defines the lip shape, prevents lipstick from bleeding, and can be used to fill in the lips for a more intense color.
When to use both? For a truly long-lasting and flawless lipstick look, use both lip primer and lip liner. Apply lip primer first, then lip liner, and finally lipstick.
Lip Primer for Different Lipstick Finishes: Adapting Your Technique
The best lip primer and application technique can vary depending on the finish of your lipstick:
- Matte Lipstick: Use a hydrating lip primer to prevent your lips from drying out. Exfoliate your lips beforehand to create a smooth surface.
- Cream Lipstick: Use a primer that provides a smooth base and helps to prevent feathering.
- Glossy Lipstick: Use a primer that helps to grip the gloss and prevent it from slipping and sliding.
- Liquid Lipstick: Use a primer that creates a barrier between the lipstick and your lips, preventing it from drying out or cracking.
The Science Behind Lip Primer: How It Works and Why It's Effective
Lip primer works by creating a physical barrier between your lips and your lipstick. This barrier prevents the lipstick from sinking into fine lines and wrinkles, from being absorbed by your lips, and from feathering or bleeding. The ingredients in lip primer, such as polymers and silicones, help to create this smooth and even surface. Moisturizing ingredients, such as hyaluronic acid and shea butter, help to keep your lips hydrated and prevent them from drying out.
Lip Primer as a Lip Treatment: Using It to Improve Lip Health
Many lip primers contain ingredients that can actually improve the health of your lips. Moisturizing ingredients like hyaluronic acid, shea butter, and vitamin E can help to hydrate and protect your lips, preventing them from drying out and cracking. Some lip primers also contain antioxidants that can help to protect your lips from damage caused by free radicals. Using lip primer regularly can help to keep your lips healthy, soft, and smooth.
DIY Lip Primer Options: Creating Your Own Natural Alternatives
If you're looking for a natural alternative to store-bought lip primer, you can try making your own. Here are a few DIY recipes:
- Coconut Oil and Beeswax: Mix equal parts coconut oil and beeswax in a double boiler. Heat until the beeswax is melted. Pour into a small container and let cool.
- Shea Butter and Vitamin E Oil: Mix equal parts shea butter and vitamin E oil. Whip until light and fluffy.
- Honey and Olive Oil: Mix equal parts honey and olive oil.
These DIY lip primers will help to hydrate and protect your lips, creating a smooth base for lipstick application. However, they may not be as effective at preventing feathering and bleeding as store-bought lip primers.
The Future of Lip Primer: Innovations and Trends to Watch For
The world of lip primer is constantly evolving. Here are a few innovations and trends to watch for:
- Lip Primers with SPF: Protecting your lips from the sun is essential. Look for lip primers that contain SPF to help prevent sun damage.
- Color-Correcting Lip Primers: These primers help to neutralize discoloration and even out your lip tone.
- Lip Primers with Anti-Aging Benefits: Look for primers that contain ingredients like peptides and retinol to help reduce the appearance of fine lines and wrinkles.
- Sustainable and Eco-Friendly Lip Primers: As consumers become more environmentally conscious, brands are developing lip primers with sustainable and eco-friendly ingredients and packaging.
Lip primer is a makeup essential that can make a huge difference in the appearance and longevity of your lipstick. By choosing the right primer and applying it correctly, you can achieve a flawless and kissable pout that lasts all day long. So go ahead, give lip primer a try – you won't regret it!
:max_bytes(150000):strip_icc()/277019-baked-pork-chops-with-cream-of-mushroom-soup-DDMFS-beauty-4x3-BG-7505-5762b731cf30447d9cbbbbbf387beafa.jpg)